
News & FAQ
Technical Insights
Plasticizing conditions Back pressure. High back pressure gives thorough, uniform plasticizing, but the heat can cause the melt to cure early and lose flow. Low back pressure leaves the material under-plasticized with poor flow. Set it according to the material and the wear condition of the screw and barrel. Screw speed. Too fast shortens plasticizing time and the material is not fully plasticized. Too slow increases friction, overheating the material so that it cures early, releases gas, impairs filling and accelerates screw and barrel wear. Material temperature. Too high and the melt cures rapidly under shear, increasing wear and blocking the nozzle. Too low and plasticizing is insufficient, injection is slow and the cavity does not fill. Generally keep material temperature at 70–90 °C; for PF-161J, 72–78 °C. Filling conditions Injection speed. Too fast generates frictional heat that cures the melt locally or even burns it, trapping moisture and gas and causing pinholes or short shots. Too slow causes flow marks and visible weld lines. Injection pressure. Higher pressure gives good filling and mechanical properties but raises internal stress and thickens flash. Too low pressure causes short shots; repeated short shots can darken the mold release agent and leave the part surface dull and whitish. Hold time. Longer hold increases part weight and density but makes ejection harder; beyond about 25 seconds part weight no longer increases. Shorter hold shortens the cycle but increases shrinkage. Curing conditions Mold temperature. Higher mold temperature shortens the cycle, but too high causes burning, pinholes and gas traps. Too low reduces flow at the melt front, causing incomplete filling, weak bonding, low strength and poor gloss. Curing time. Keep it as short as possible while holding dimensions within tolerance; thicker walls need longer curing. After ejection, parts can cool naturally.
Burned parts are scrap and reduce productivity. Because burns can come from the machine, the mold or the process, the right fix depends on the cause. 1. Machine Abnormal temperature control can overheat the barrel so that material degrades before injection. Material can also hang up in the nozzle, screw flights or check valve, degrade and then be carried into the part as dark brown burn streaks. Remove and clean the nozzle, screw and barrel. 2. Mold Poor venting is the main cause. These burns usually appear at the same fixed location on the part, which distinguishes them from machine-related burns. Add vents or venting ejector pins. 3. Contaminated material Dust or debris in the resin can burn. Take care when loading material, and fit a magnetic grate on the hopper to catch metal particles. 4. Process settings Excessive back pressure can overheat the barrel and cause burns. Screw speed that is too high also generates excess heat; 40–90 rpm is generally appropriate. Where the mold has no vents or only small ones, high injection speed can cause burns from compressed hot gas.
Injection pressure Choose injection pressure according to part shape and wall thickness and the material being molded. Where production conditions and quality standards allow, a lower-temperature, lower-pressure process is recommended. Back pressure Back pressure — also called plasticizing pressure — is the pressure the material is under during plasticizing. Higher back pressure improves color mixing. It helps expel gases from the melt, reducing silver streaks and bubbles. Appropriate back pressure prevents material hanging up in the barrel, which is why back pressure is often increased when purging. Injection speed Low-speed filling gives a steady flow, stable dimensions with little variation, and low, uniform internal stress. Its drawbacks are weld lines, delamination and flow marks. High-speed filling allows lower injection pressure, improves gloss and smoothness, eliminates weld lines and delamination, reduces sink marks and gives more uniform color. Its drawbacks are jetting (hesitation or turbulence), excessive temperature rise and yellowing, poor venting and occasionally difficult ejection. With high-viscosity materials, melt fracture can occur, causing surface haze and increasing the tendency to warp from internal stress and to crack along weld lines in thick parts.
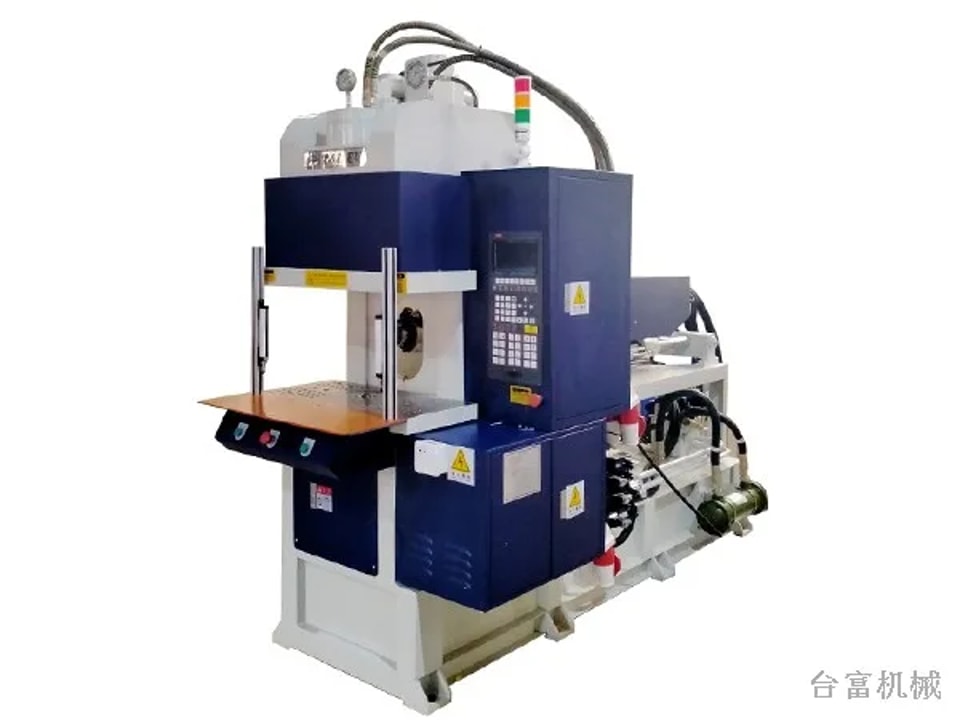
Injection pressure The pressure actually applied during injection is higher than the pressure needed to fill the cavity. Cavity pressure rises sharply to a peak, and that peak is what is usually called injection pressure. Holding pressure After the cavity is filled and until the gate has frozen, the plastic in the cavity still needs substantial pressure — this is holding pressure. It: Packs additional material near the gate and prevents unsolidified material from flowing back toward the gate under residual pressure before the gate freezes. Prevents shrinkage and sink marks and reduces voids. Reduces sticking, cracking or warping caused by excessive injection pressure. Holding pressure is therefore usually set at 50–60% of injection pressure. If holding pressure is too high or held too long, cold material from the gate and runner can be pushed into the part, leaving bright cold-slug marks near the gate and needlessly lengthening the cycle.
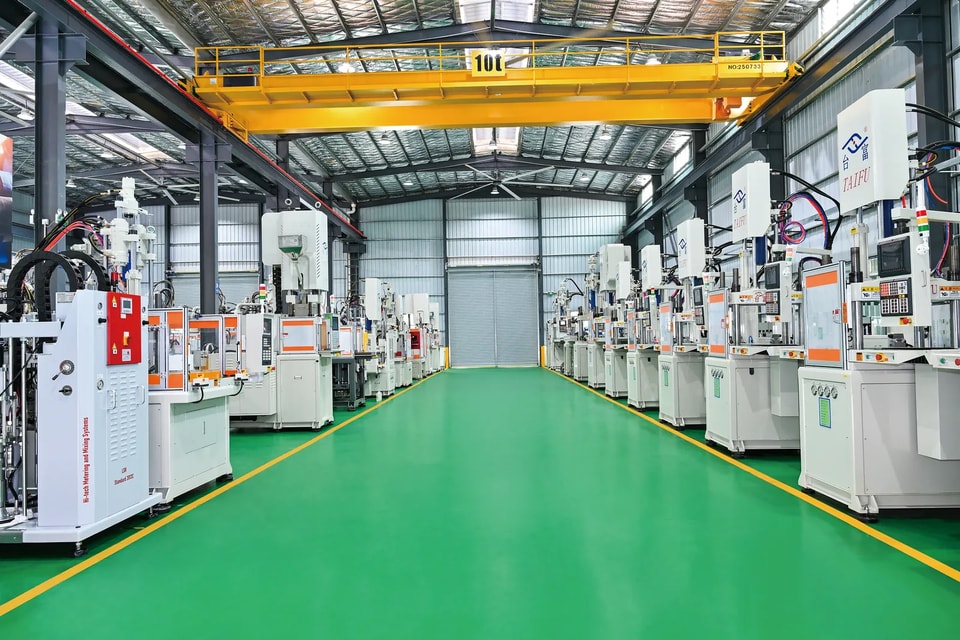
Black specks and discoloration are common defects in injection molding. The causes fall into four groups. Machine Faulty heating control overheats the barrel and degrades the material. Defects in the screw or barrel trap material, which degrades under prolonged heating. Check the screw tip assembly for wear or metal debris. Some materials, such as ABS, cross-link and char under high heat while keeping their pellet shape; the screw crushes them and carries them into the part. Mold Poor venting causes burning; undersized runners and gates create excessive shear and charring. Unsuitable oil-based lubricants or release agents in the mold. Material Excess volatiles or moisture, impurities, too much regrind, or contamination. Process Excessive pressure, injection speed, back pressure or screw speed can all degrade the material. Clean the barrel regularly and remove additives that are less heat-stable than the base resin.
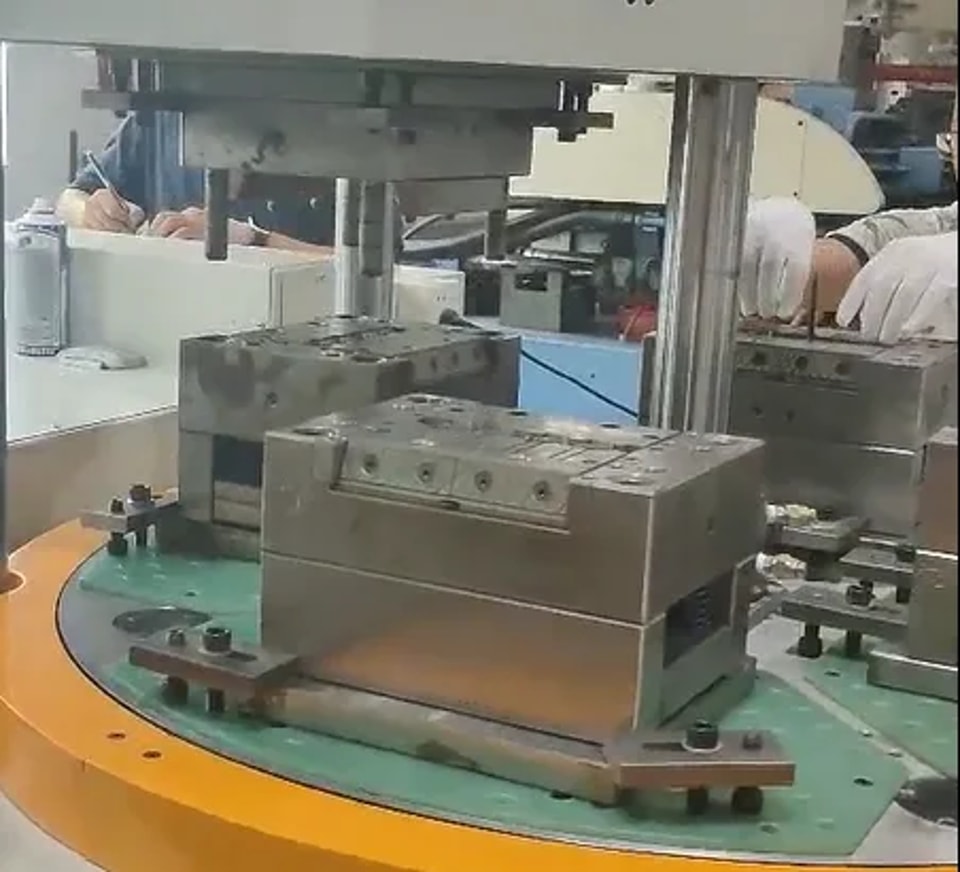
Molds are delicate and expensive to repair, so protecting them is essential. Six areas to watch: Burrs. Prevent damage from wiping cloths, material impact, hands, sprue cutters and knives. Rust. Prevent water leaks, condensation, rain and fingerprints from causing corrosion. Missing parts. Make sure tie rods, washers and other components are in place before running. Closing on a part. Never clamp with a part or remnant still in the mold. Collisions. Watch for broken ejector pins or pins that have not fully retracted. Low-pressure protection. Avoid damage caused by setting mold protection pressure too high. Broken or unretracted ejector pins, parts left in the mold and missing components account for most mold damage and happen frequently. Since mold repairs are costly, preventing these situations directly protects your production margins.
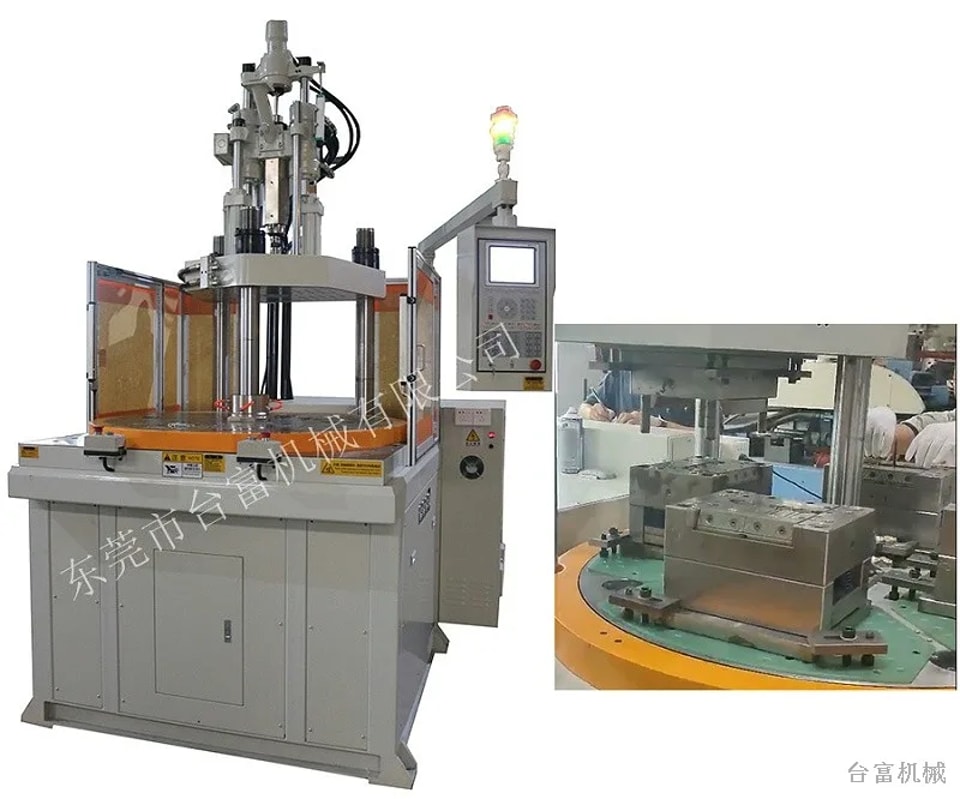
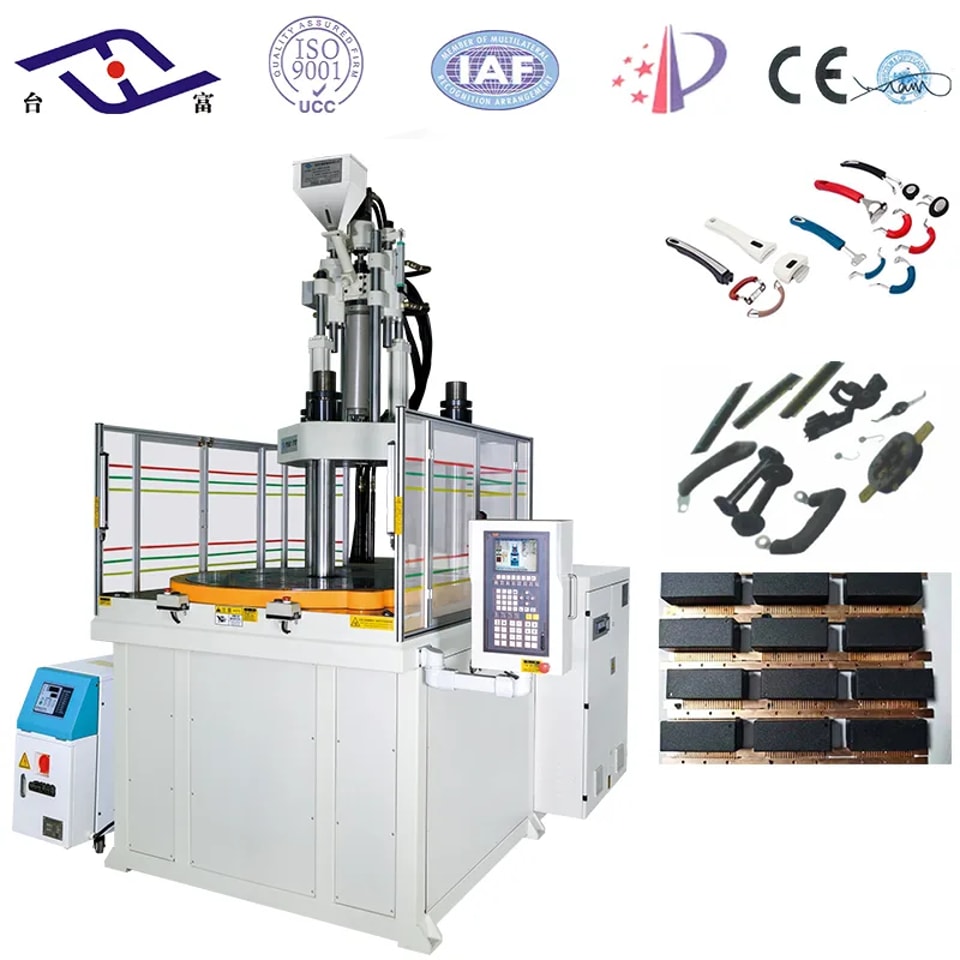
Vertical rotary table machines are available with two stations or with three up to eight stations — one upper mold working with two to eight lower molds. While the clamp molds one station, the operator loads inserts at another, and a robot can be added for part removal, raising efficiency considerably. Each lower mold can even produce a different part. A double sliding table machine can achieve a similar effect, but usually needs two operators; with one person it is hard work. A rotary machine can be run by a single operator, which saves labor cost. Five questions to ask Does loading inserts take a long time? Will several operators work on one machine? Does the part have cables attached, and can they be handled on a rotary table? What is the overall cycle time of the part? What output does production require?
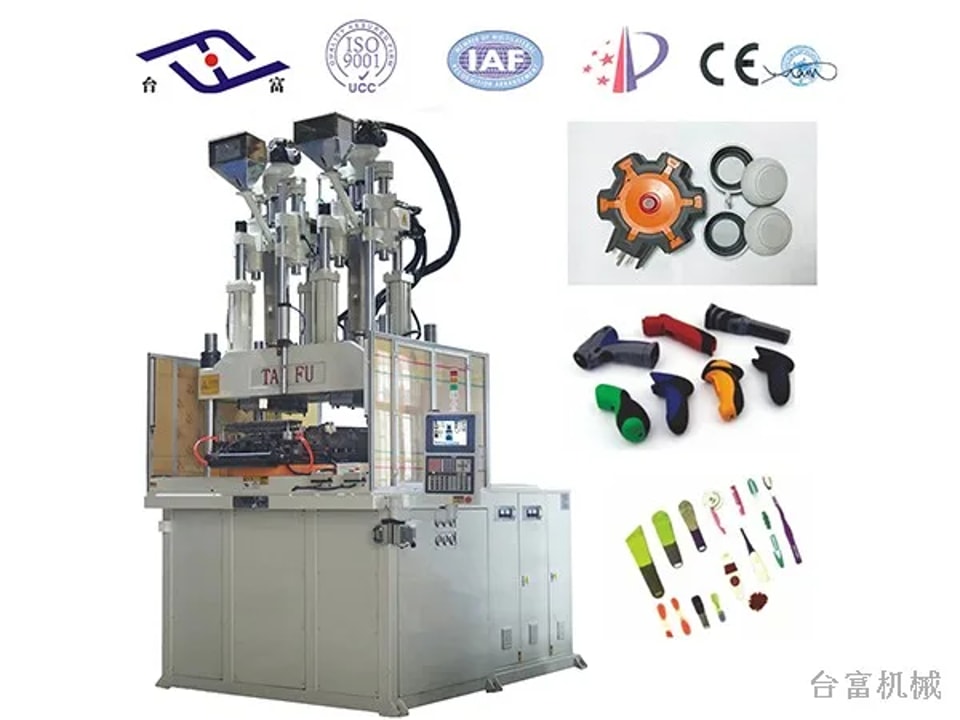
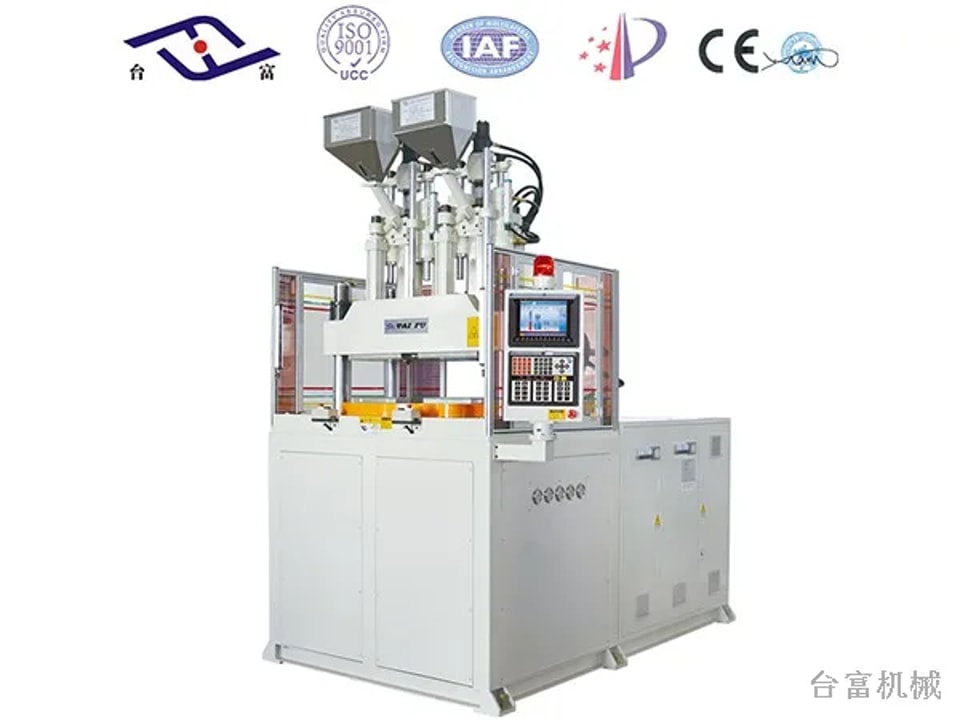
Two-color molding is done on a two-color machine. The first material is molded, then the mold rotates the part to the cavity served by the second barrel, where it acts as an insert and the second material is molded over it to form one integrated part. The machine has two barrels and two cavities; both shots run at the same time, with the part from one cavity becoming the insert for the next. Two-step (insert) molding molds the first-material part on one machine, then places it as an insert into another mold where the second material is injected. In short: with two-color molding, raw material goes into the machine and the finished two-material part comes out. With insert molding, the part to be combined is placed into the mold first and then overmolded.
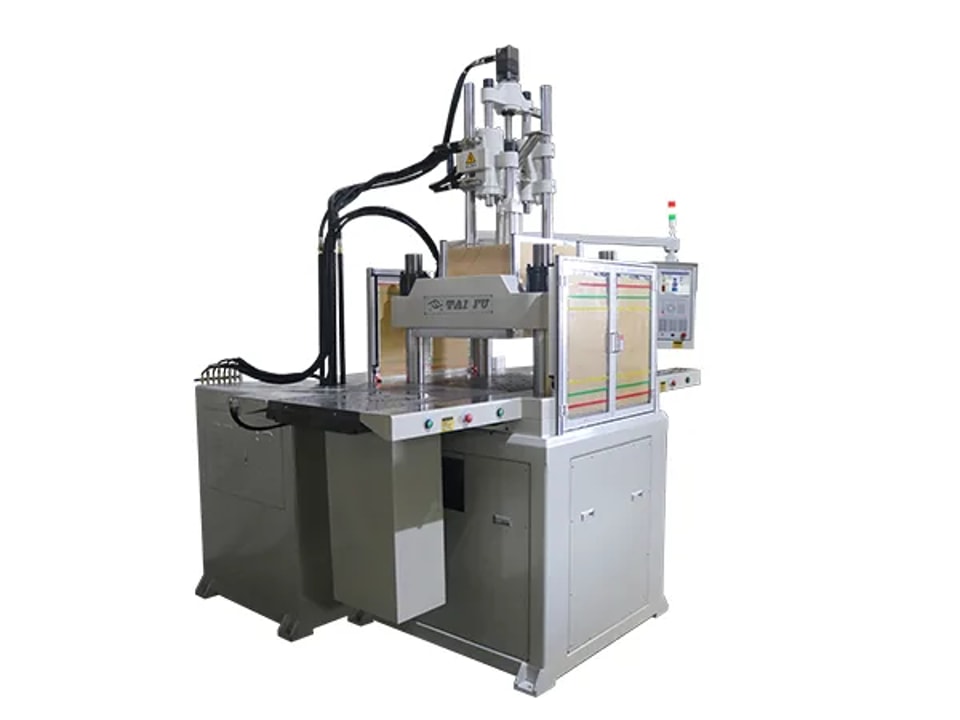
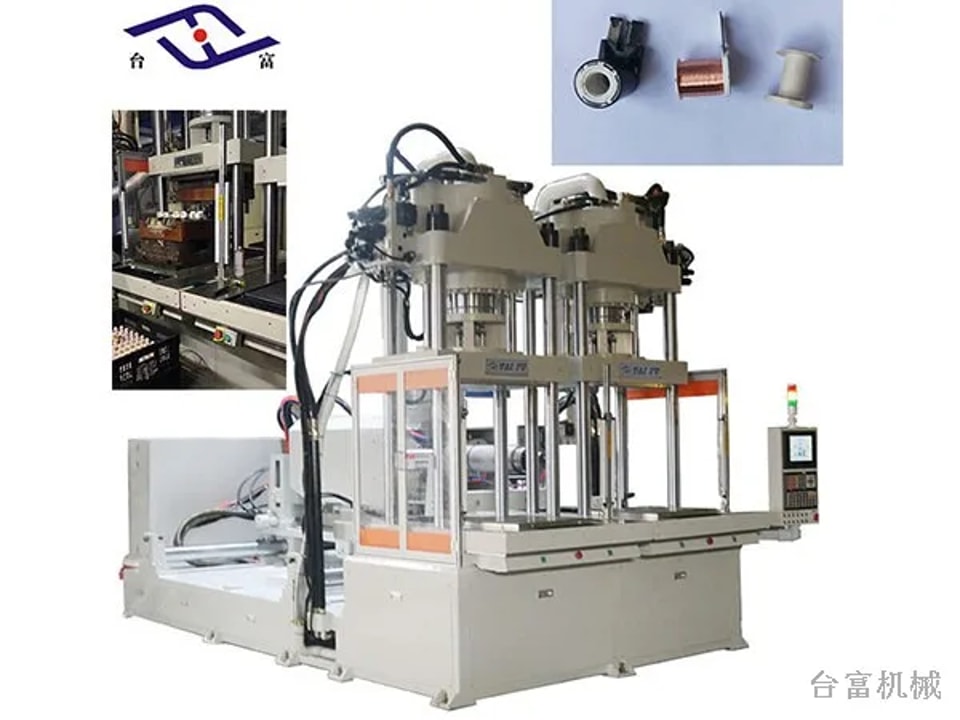
Vertical sliding table machines come in two types: single sliding table and double sliding table. Both are developed from the fixed-table vertical machine. Safer part handling On a fixed-table machine, the operator removes parts from under the upper platen. On a sliding table machine, the lower mold slides out from under the upper platen after molding, so parts are removed in a safe position away from the clamp. Higher efficiency with a double sliding table On a double sliding table machine, two lower molds work alternately under one upper mold, which keeps working continuously. A fixed-table machine has to pause while each part is removed, so the double sliding table offers a clear efficiency advantage.
Request a machine proposal
Enquiry about

© 2026 Dongguan Taifu Machinery Co., Ltd.